Openers · Grantham
Photo-Eye Sensor Alignment or Replacement in Grantham
You press the remote, the door drops a few centimetres, then climbs straight back to the top while the opener light blinks.
In plain words
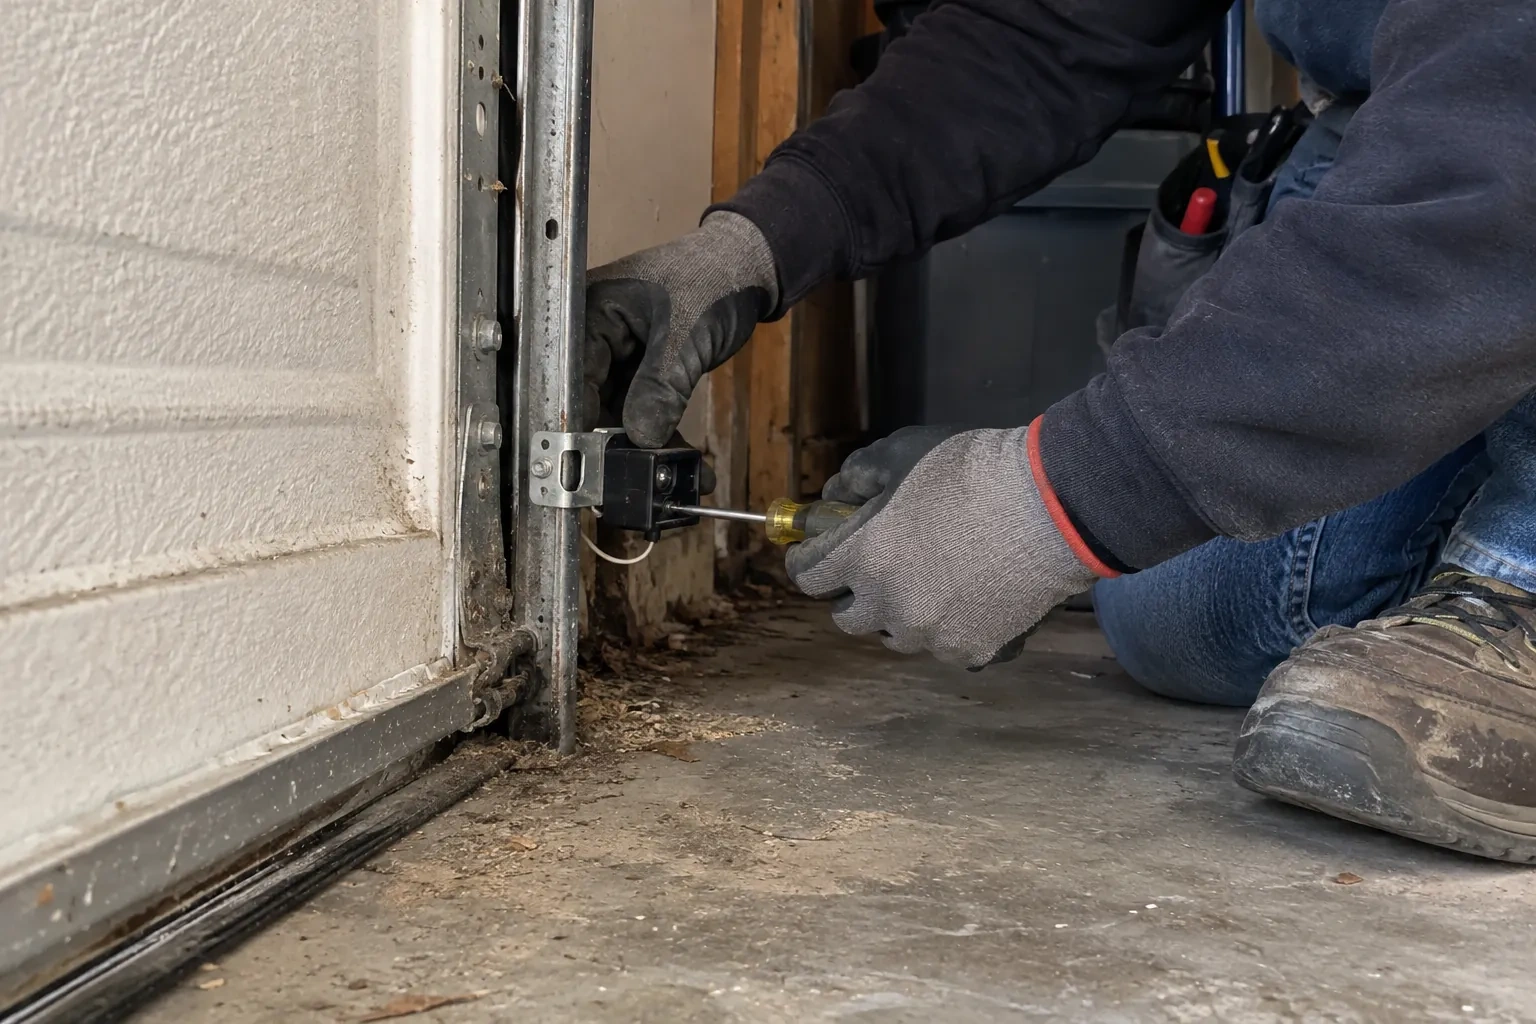
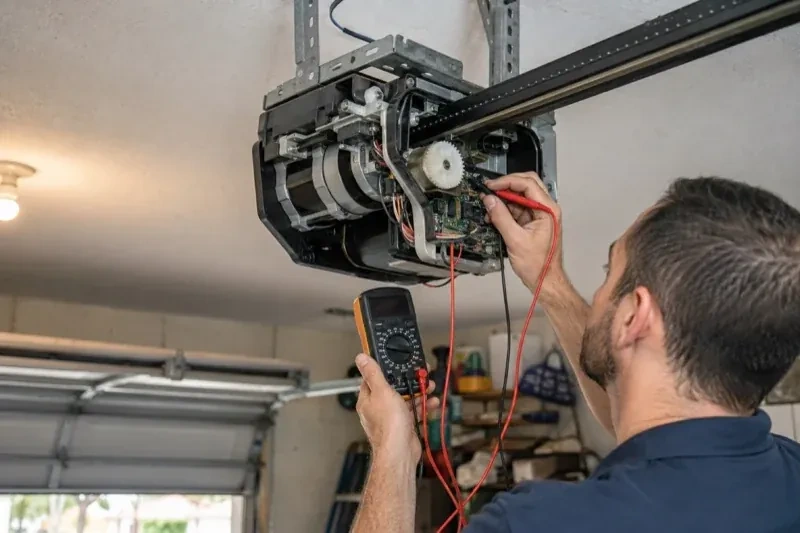
Photo-eye sensor service brings back the invisible beam that runs across the bottom of your doorway and lets the opener close with confidence. A technician clears the path, checks each sensor's indicator, tests the low-voltage wiring back to the head unit, and reads the opener's own diagnostic lights to tell an obstruction from a wiring fault. Brackets are straightened and refastened, lenses cleaned, and the pair aimed at each other at the same height no higher than 15 cm off the floor. If a sensor has failed, a matched pair for that opener family goes in. The visit ends with a beam test and a contact reversal test.
How the visit goesYou press the remote, the door drops a few centimetres, then climbs straight back to the top while the opener light blinks. Nothing is under the door. It has done this every evening this week.
Photo-Eye Sensor Alignment or Replacement
How the visit goes
Clearing and walking the beam
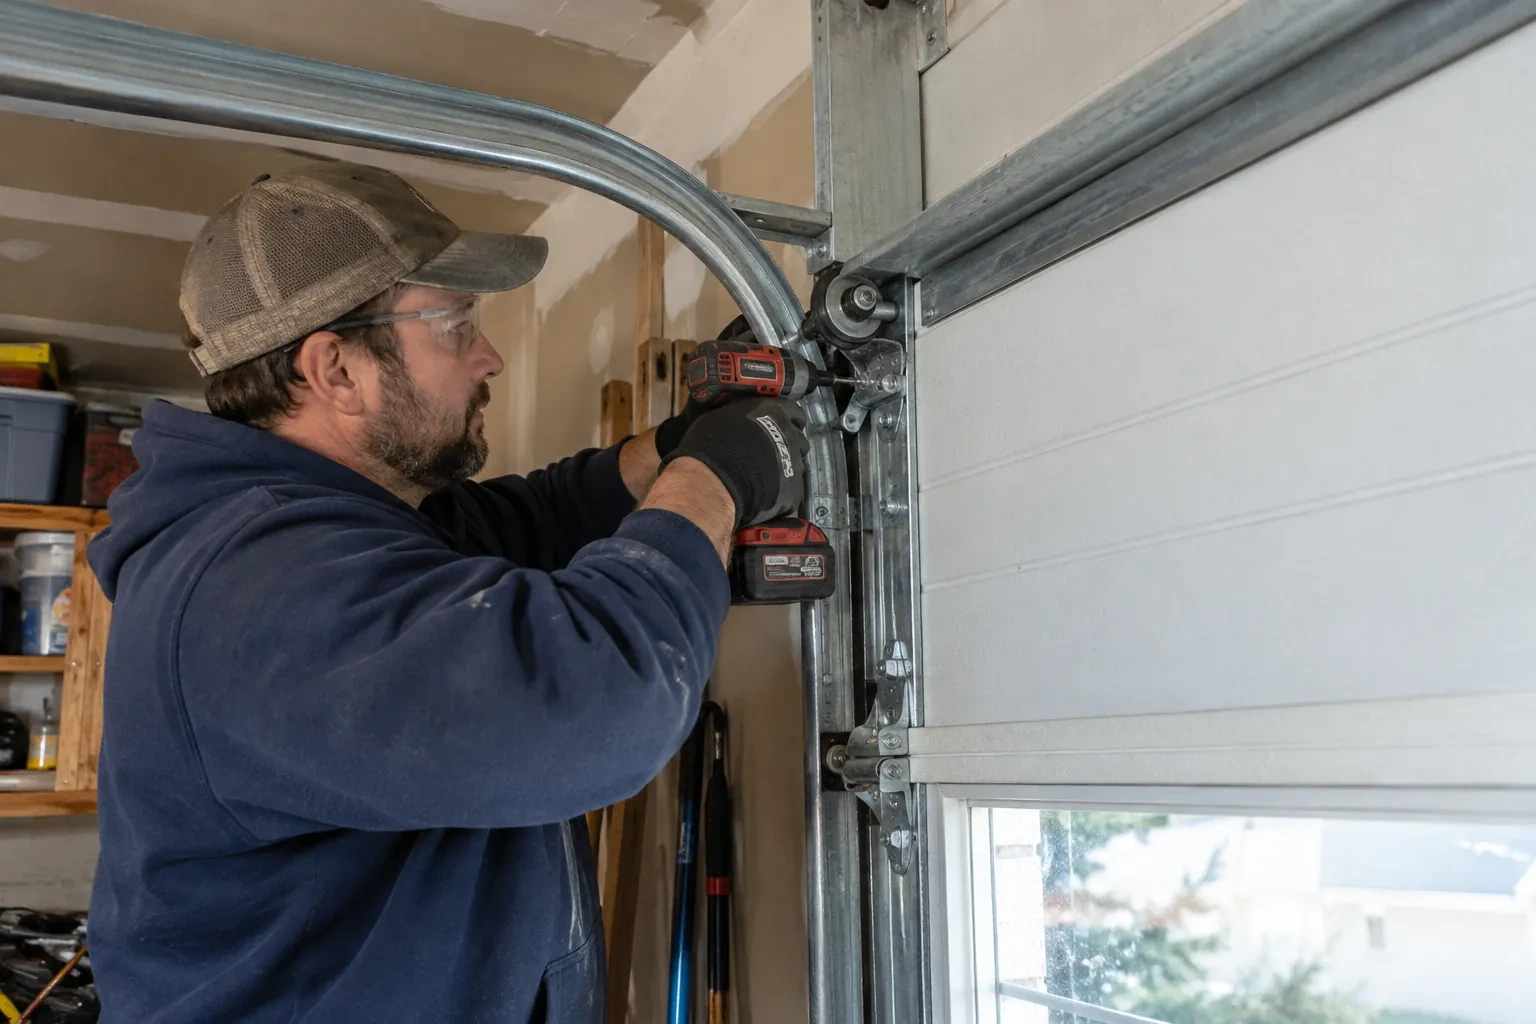
Before anything is adjusted, the technician clears the strip of floor between the two sensors and looks along the beam line at sensor height. Things that break a beam are rarely dramatic: the corner of a recycling bin, a hose left coiled by the wall, a bag of salt, leaves blown in under the door, a cobweb bridging a lens, a new weatherstrip or track shoe that sits a little proud. Snow and ice piled inside the door in winter count too. With the path clean, the door is tried again, because a fair share of sensor calls end right here, with a lesson about where things can and cannot sit.
Dealing with the sun
A receiver that looks into the low sun is fixed by geometry. The simplest cure is to swap the two sensors side to side so the receiver looks away from the doorway light and the sending eye, which is not affected, takes the sunny position. Where the layout rules that out, a small hood or shade is fitted over the receiving lens, deep enough to shield it without narrowing the beam path. The wiring is extended or re-routed as needed and both lights are checked at the time of day the fault used to appear, or with a strong light aimed at the lens to stand in for the sun.
Wiring that stays put
The wire between the head unit and the sensors has been secured along the ceiling and walls, clipped clear of the track and, where it was exposed, run inside a protective channel. Two things keep it that way. First, when anything is fastened to those walls or that ceiling, from shelving to a bike hook to drywall, look for the thin wire before driving a screw or a staple. Second, if mice have been in the garage, a chewed wire is a common sign, so a dark sensor light after a sighting is worth a look at the run. Either way, the sensor lights will tell you the moment the circuit is open.
Photo-Eye Sensor Alignment or Replacement
In the van
Receiving-eye sun shade
2x4 test block
Protective wire channel
Wing nuts and carriage bolts
Insulated wire staples
Photo-Eye Sensor Alignment or Replacement
What affects the quote
Number of doors
Each opener has its own sensor pair and wire run, so a double garage with two doors is two sets of checks, two possible pairs and two rounds of testing, quoted per door.
Door-side findings
A balance problem, a stiff roller or a bottom seal that needs replacing sometimes shows up during testing. Those belong to their own service and are noted and quoted separately rather than hidden in the sensor work.
Opener make and generation
Sensor pairs are matched to the opener family, and some models take a kit with brackets and wire while others take sensors alone. The head unit label sets which pair is needed and how it is priced.
What to have ready
- What make and model is on the opener's label, and roughly how old is it?
- How many doors and openers are there?
- Which direction does the garage door face?
Photo-Eye Sensor Alignment or Replacement: questions
QuestionsCan the sensors be mounted on the wall instead of the track?
Track-mounted clips are the preferred, manufacturer-recommended arrangement. A wall-mounted angle bracket is the next choice where the track sits far back from the opening or the clip keeps getting bumped; mounting to the concrete floor is kept as a last resort, used only when the sensor's own instructions allow it. The same rules apply: both sensors at a matched height no higher than about 15 cm, level, facing each other, with the wire secured. Wall mounting sometimes gives a cleaner beam line on older doors with unusual track layouts.
How long does a sensor visit take?
Alignment, cleaning and a bracket adjustment are done inside an hour on most doors, including the two tests at the end. Replacing the pair adds a little for wiring and setup. Re-running the wire all the way from the motor to both sensors is the part that stretches a visit, especially where the wire is behind a finished ceiling or the garage is full. Having the floor by the door clear before arrival helps.
Why does my door start to close and then go straight back up?
Often the opener believes something is in the doorway, which happens when the receiving sensor stops seeing the beam, whether from an object in the path, a bracket knocked out of line, a dirty or frosted lens, sun in the receiving eye, or a damaged wire. Binding, a force setting or the door arm can cause the same symptom, so the sensor lights and the opener's flashing pattern are read first, and the technician fixes the cause they point to rather than guessing.
Related services
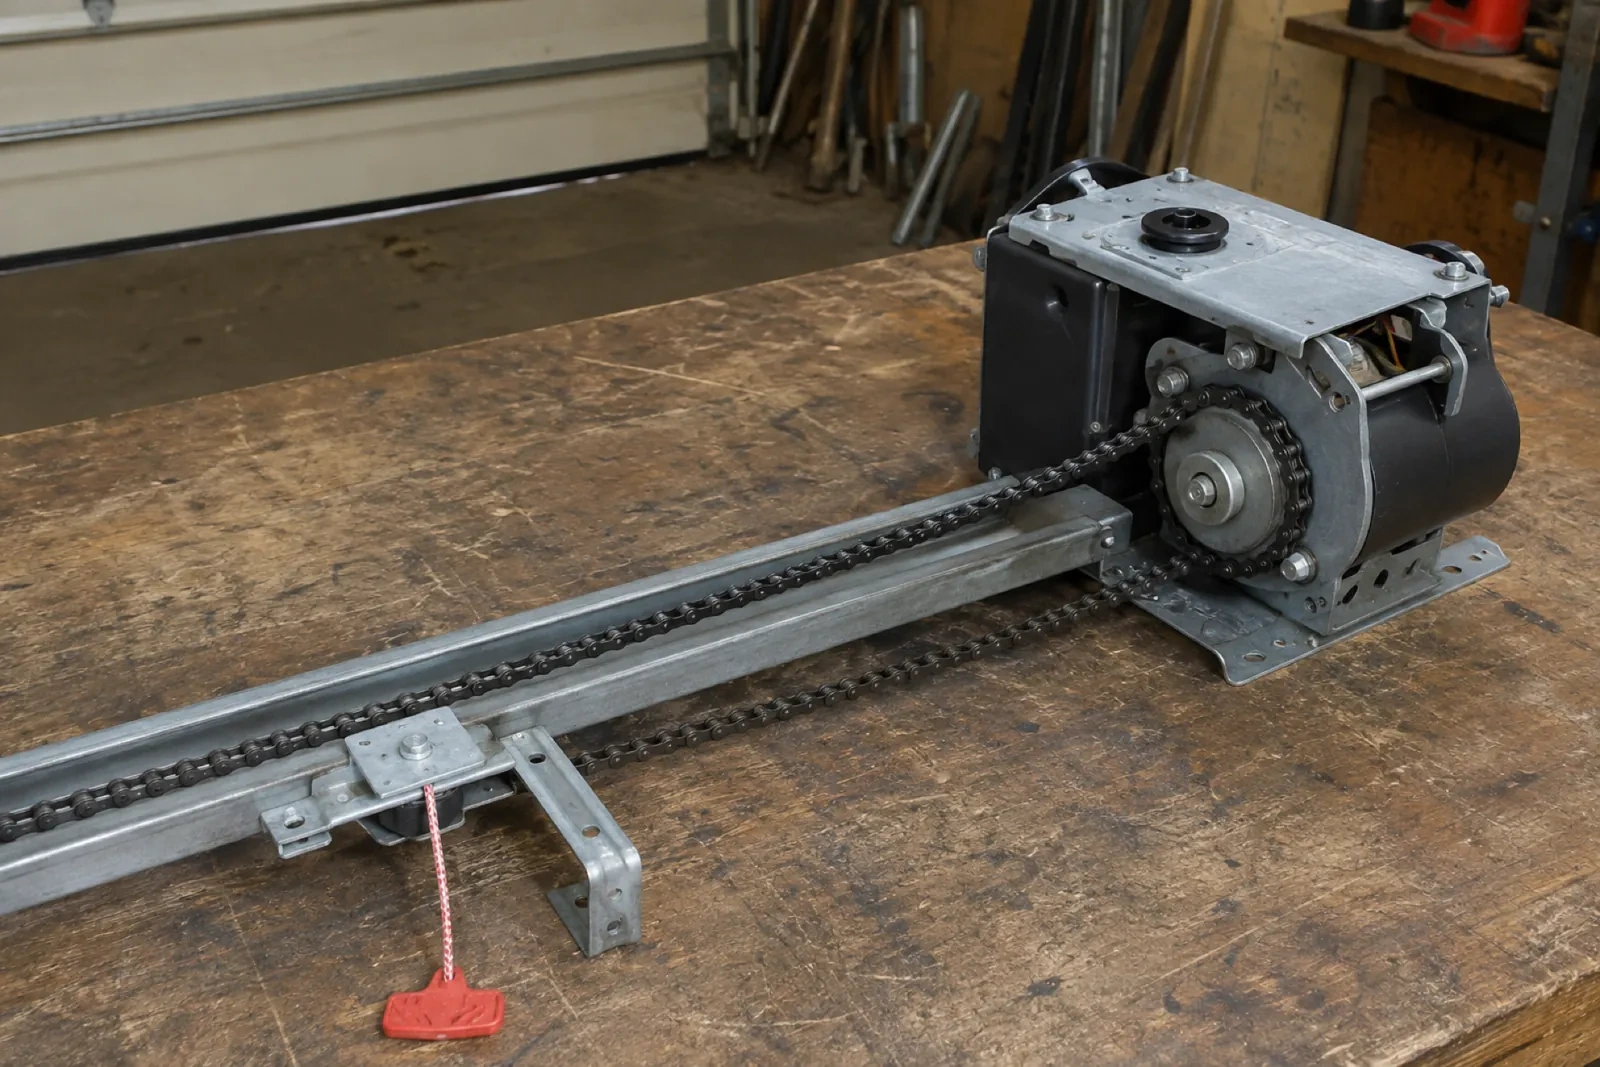
- Chain-Drive Opener RepairThe motor runs, you can hear it working, but the door never moves.
- Belt-Drive Opener RepairThere is a new squeal from the front of the rail, up near the header, on every cycle.
- Garage Door Opener ReplacementThe remotes only work from the end of the driveway now, and one of them disappeared with a set of keys last month.