Openers · St. Catharines
Smart Garage Controller Setup
A contractor is coming to work in the garage on Thursday while you are away.
In plain words
The account is the part of the install that lives longest, so it is set up in your hands rather than the technician's. You choose the email and password, you pick the recovery method, and you type them yourself while the technician guides you through the screens. Once the hub is on your network you name the door, decide which alerts you want, and invite the people in your household as users under your control. If the house came with a controller tied to a seller's account, it is reset and claimed fresh. The technician leaves with no login to your system, and you leave holding every key.
How the visit goesThe house came with a controller already screwed to the garage ceiling and a sensor on the door, but the app insists the device belongs to another account. The seller has moved provinces, the emails go unanswered, and every evening the door still reports to a stranger's phone.
Smart Garage Controller Setup
How the visit goes
Reading the label on the opener
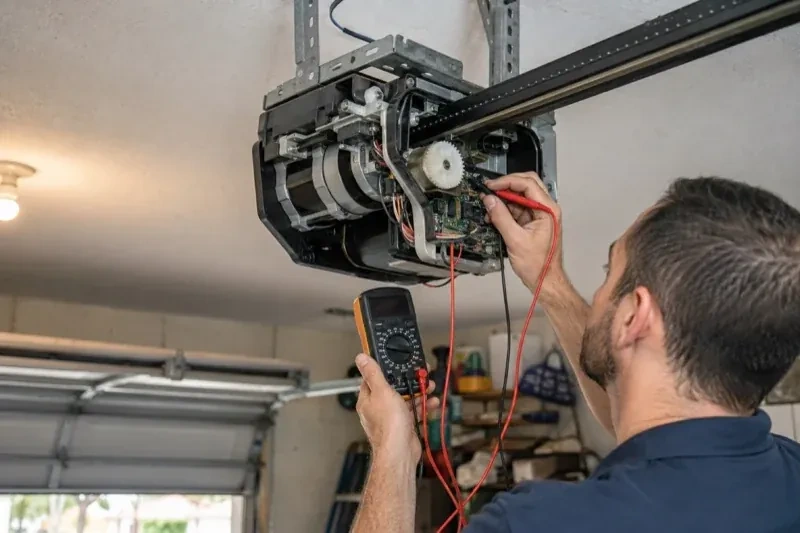
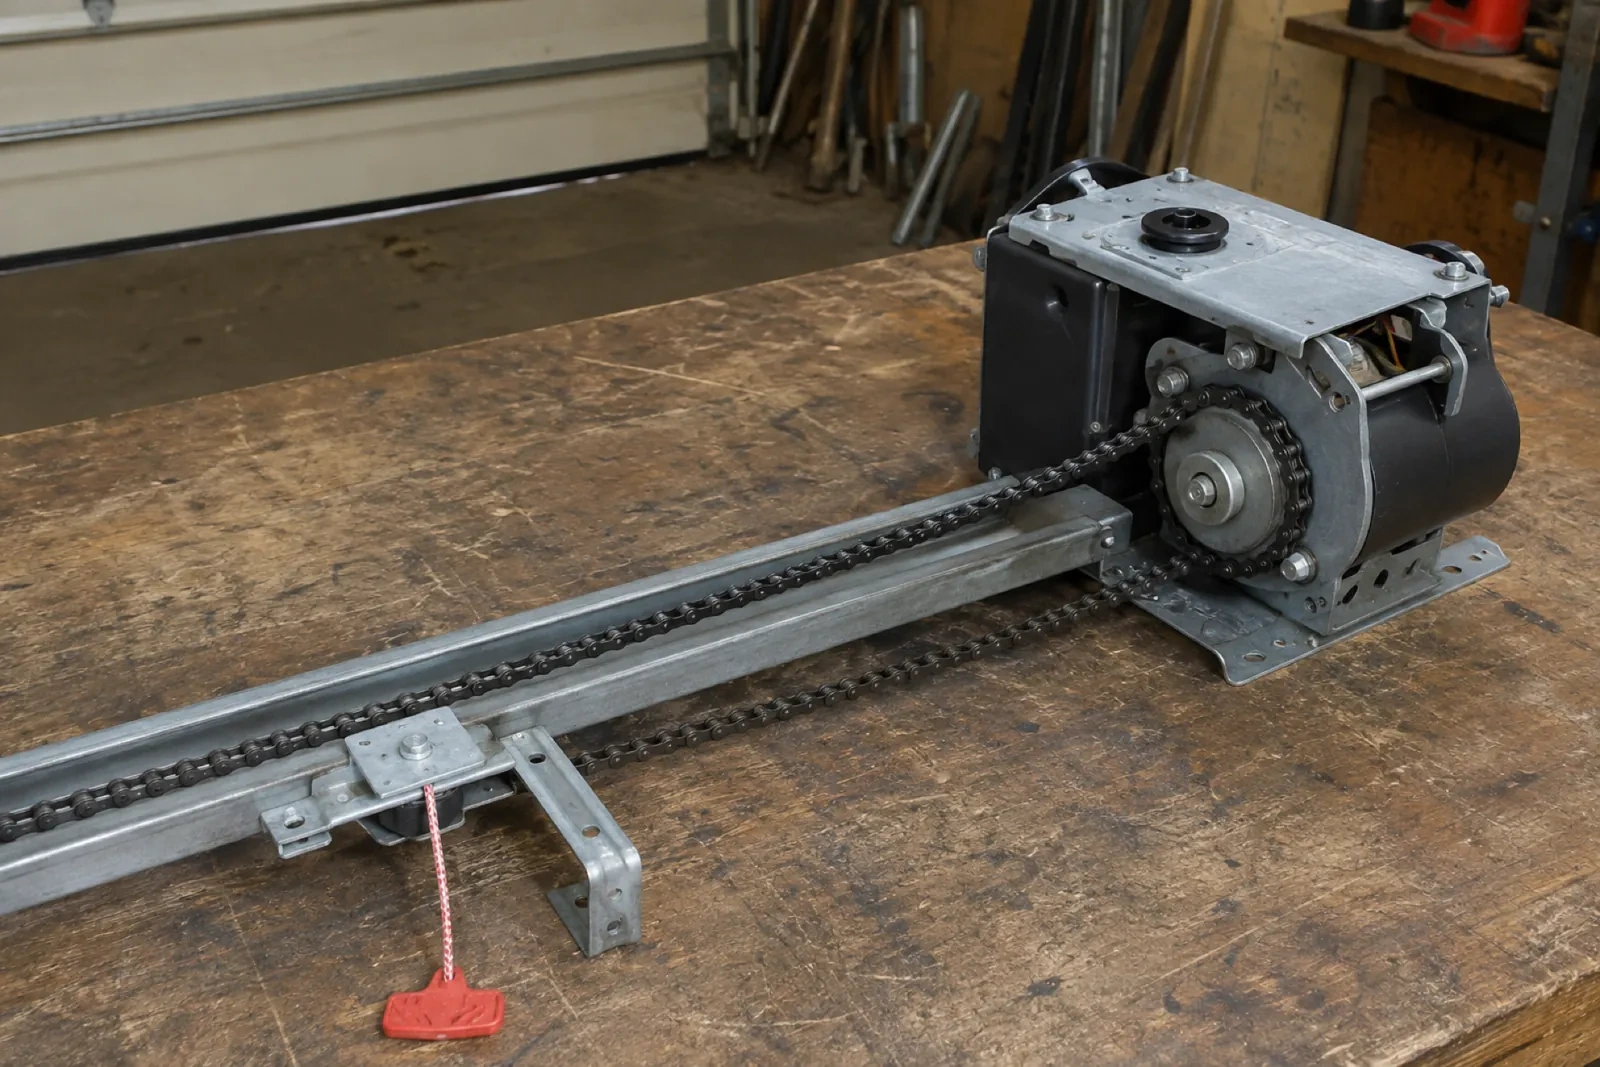
The first thing checked is the small label on the head unit, because everything else depends on it. Brand, model number and date of manufacture tell the technician which family the opener belongs to and which controllers list it as supported. The learn button, usually under the light cover, is checked for colour, since on many makes it marks the radio-coding generation and decides whether a hub can be wired to the wall-control terminals or must pair by radio. The wall console is looked at too: a console with a digital display often means an encrypted connection that needs a different hookup. A photo of the label sent ahead lets this step happen before the van leaves.
Mounting and teaching the door sensor
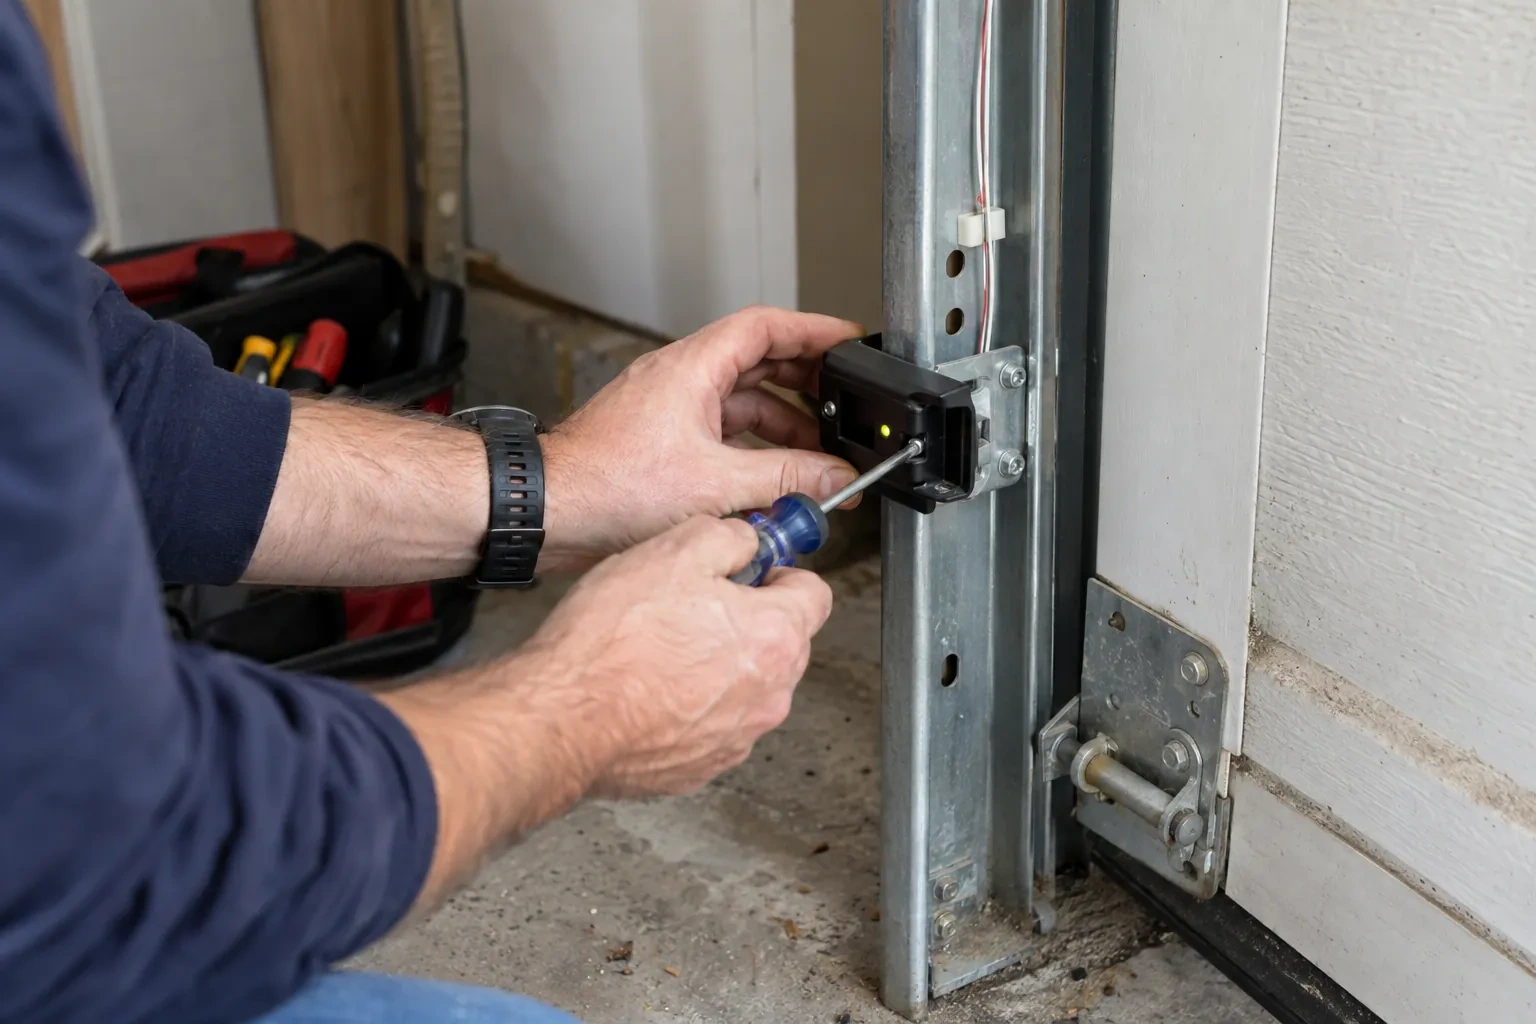
The sensor is fixed to the inside of the top door section with two screws, oriented the way its maker specifies so the tilt reading is unambiguous. Its battery goes in, and the hub is put into pairing mode to find it. The technician then follows the controller's own pairing procedure: some units come already programmed to their sensor and are simply verified through full cycles, others are taught the closed and open positions by cycling the door. Further cycles follow while the app is watched for the status to change within seconds of each end. A sensor that reports late or wrongly is repositioned rather than left to be second-guessed later.
Looking after the sensor battery
The door sensor runs on a small battery, typically a coin cell or a pair of cylindrical cells, that lasts a year or two in a heated garage and somewhat less in an unheated one. The app shows a battery indicator and sends a warning as it runs down, so it is rarely a surprise. Replacing it is a small job: pop the cover, swap the cell for the same type the maker specifies, and cycle the door once so the hub hears from the sensor again. Keeping a spare in a kitchen drawer means a low-battery notice on a Sunday morning is a footnote rather than a stopped feature.
Smart Garage Controller Setup
In the van
Low-voltage bell wire
Cable clips and insulated staples
Lithium coin cell or cylindrical cells
Wi-Fi access point or extender
Plug-in power adapter
Smart Garage Controller Setup
What affects the quote
Wireless coverage at the garage
A strong signal at the ceiling is a straightforward join. A weak one, common in detached garages, calls for an access point or extender, which is quoted separately.
Ceiling height and access
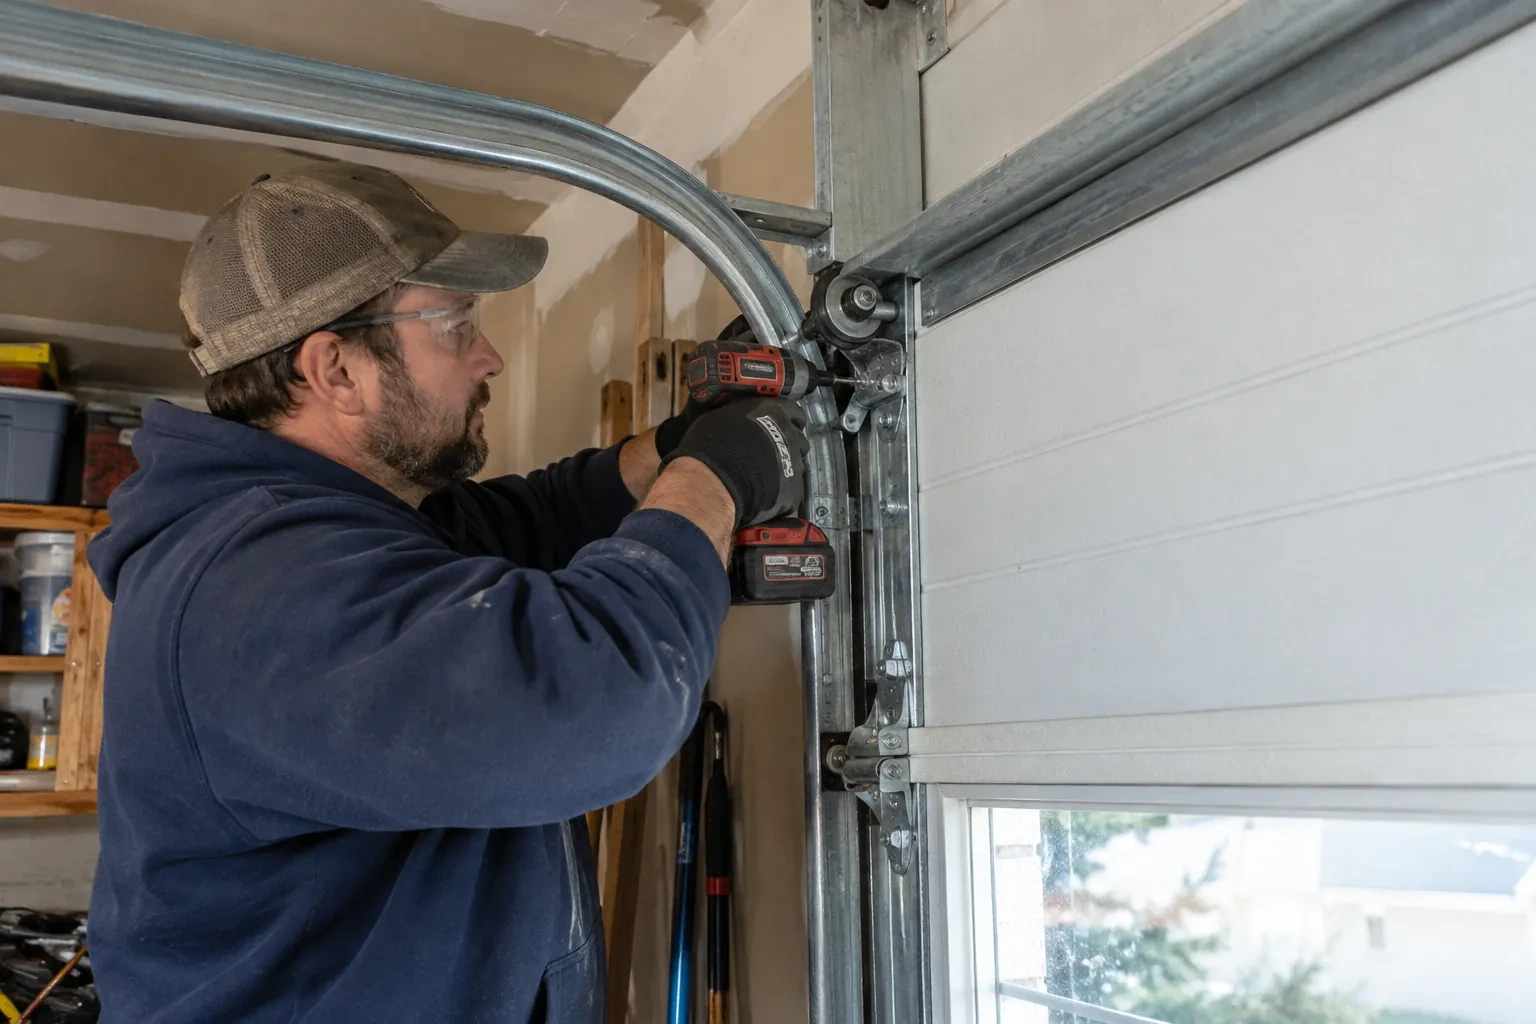
A standard garage puts the head unit and the top door panel in easy ladder reach. High ceilings, storage lofts or a car that cannot move add setup time.
Power for the hub
The hub plugs into the opener's ceiling receptacle. If there is no spare socket, an approved splitter or a receptacle added by an electrical contractor becomes part of the plan.
What to have ready
- Who in the household needs everyday access, and does anyone need temporary access?
- Is there a spare socket in the ceiling receptacle the opener uses?
- What colour is the learn button under the opener's light cover?
Smart Garage Controller Setup: questions
QuestionsWhere does the door sensor go, and what does it do?
It screws to the inside of the top door section and senses tilt: that panel stands vertical when the door is closed and lies horizontal once the door is open, and the sensor reports the change to the hub by short-range radio. It is placed clear of the opener arm, lock bar and handles, on a flat part of the panel, then paired and proven through full cycles under the maker's own setup procedure so the status in the app is reliable.
Will I get an alert if the door is left open?
That is one of the first settings made. You choose how long the door can stay open before you hear about it, often ten or fifteen minutes, and the notification goes to every phone on the account or only to some. In a climate with real winters this single alert saves a good deal of heat, and occasionally a pipe in the wall shared with the house.
Will my existing remotes and keypad still work?
Yes. The controller adds a new way to give the opener the same command; it sits alongside the ones you already have. Wall console, remotes and outdoor keypad keep working exactly as before, and each is tested at the end of the visit. If a remote has been failing for reasons of its own, a flat battery or a worn button, that is a separate small fix the technician can do while there.
Related services
- Chain-Drive Opener RepairThe motor runs, you can hear it working, but the door never moves.
- Belt-Drive Opener RepairThere is a new squeal from the front of the rail, up near the header, on every cycle.
- Garage Door Opener ReplacementThe remotes only work from the end of the driveway now, and one of them disappeared with a set of keys last month.