Openers · St. Catharines
Photo-Eye Sensor Alignment or Replacement
You press the remote, the door drops a few centimetres, then climbs straight back to the top while the opener light blinks.
In plain words
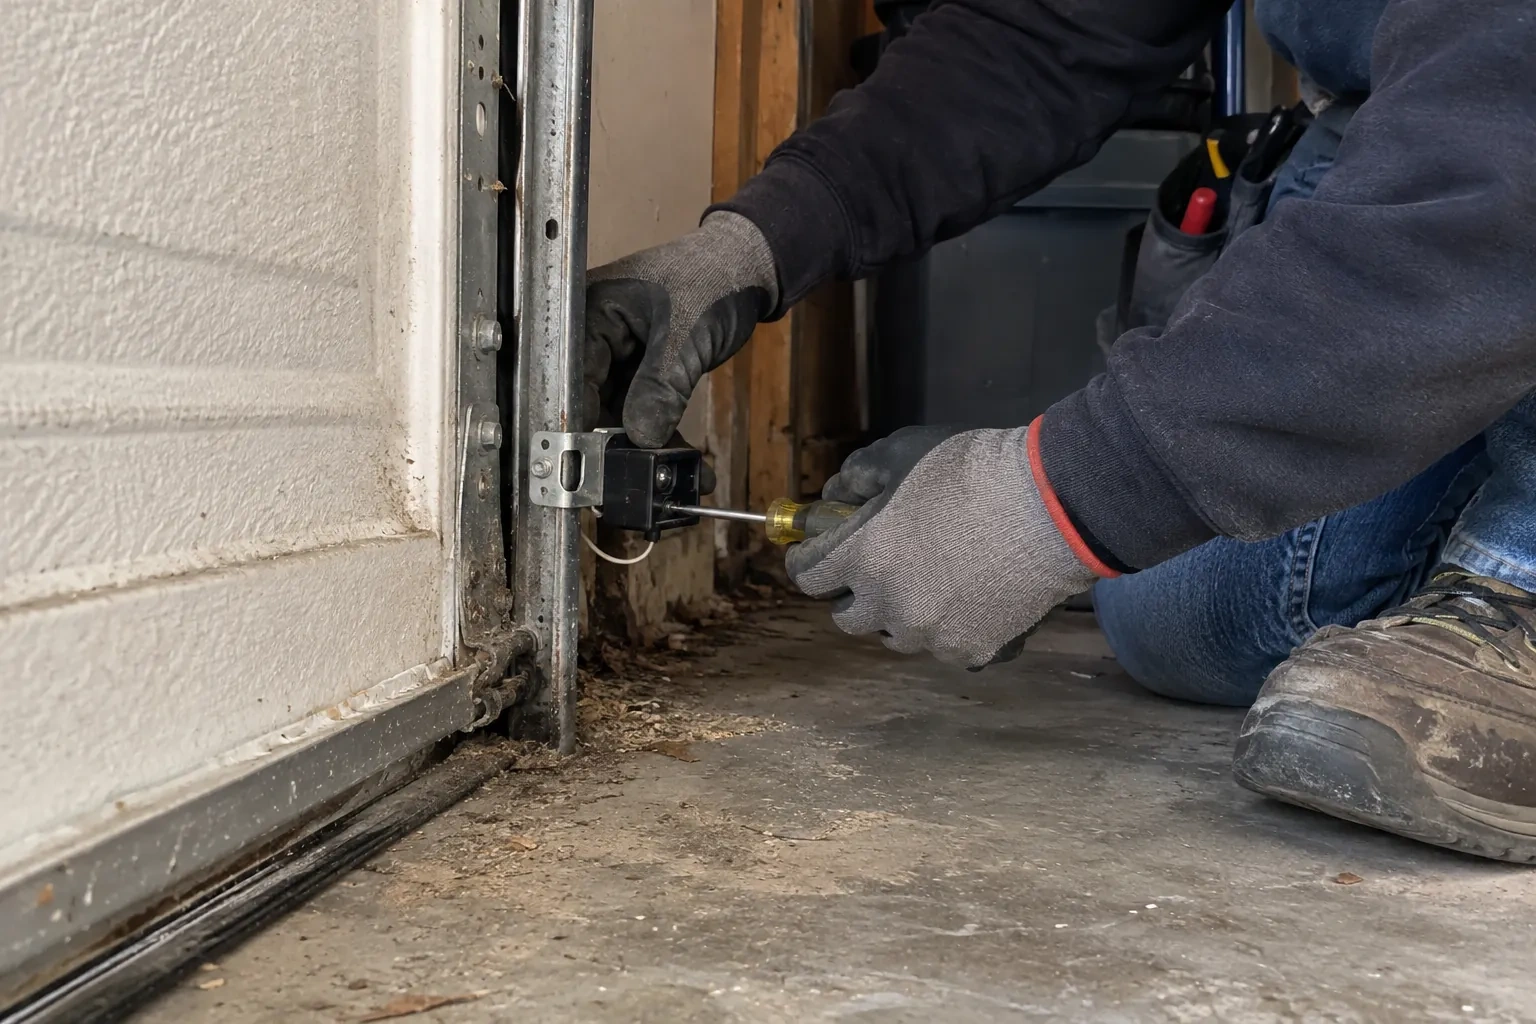
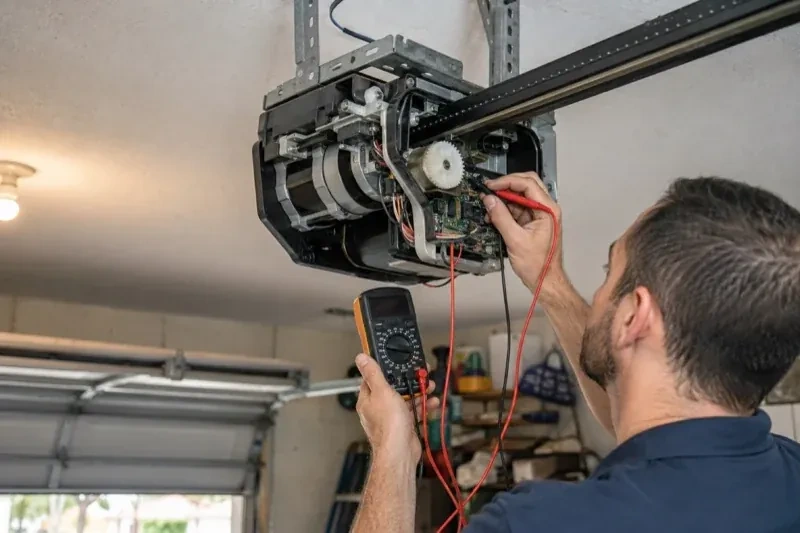
Photo-eye sensor service brings back the invisible beam that runs across the bottom of your doorway and lets the opener close with confidence. A technician clears the path, checks each sensor's indicator, tests the low-voltage wiring back to the head unit, and reads the opener's own diagnostic lights to tell an obstruction from a wiring fault. Brackets are straightened and refastened, lenses cleaned, and the pair aimed at each other at the same height no higher than 15 cm off the floor. If a sensor has failed, a matched pair for that opener family goes in. The visit ends with a beam test and a contact reversal test.
How the visit goesAfter a cold night the door stays open until the garage warms up. There is frost on the sensor lenses and a ridge of salty slush piled against the brackets where the snow blower was parked.
Photo-Eye Sensor Alignment or Replacement
How the visit goes
Ruling out sun, frost and reflections
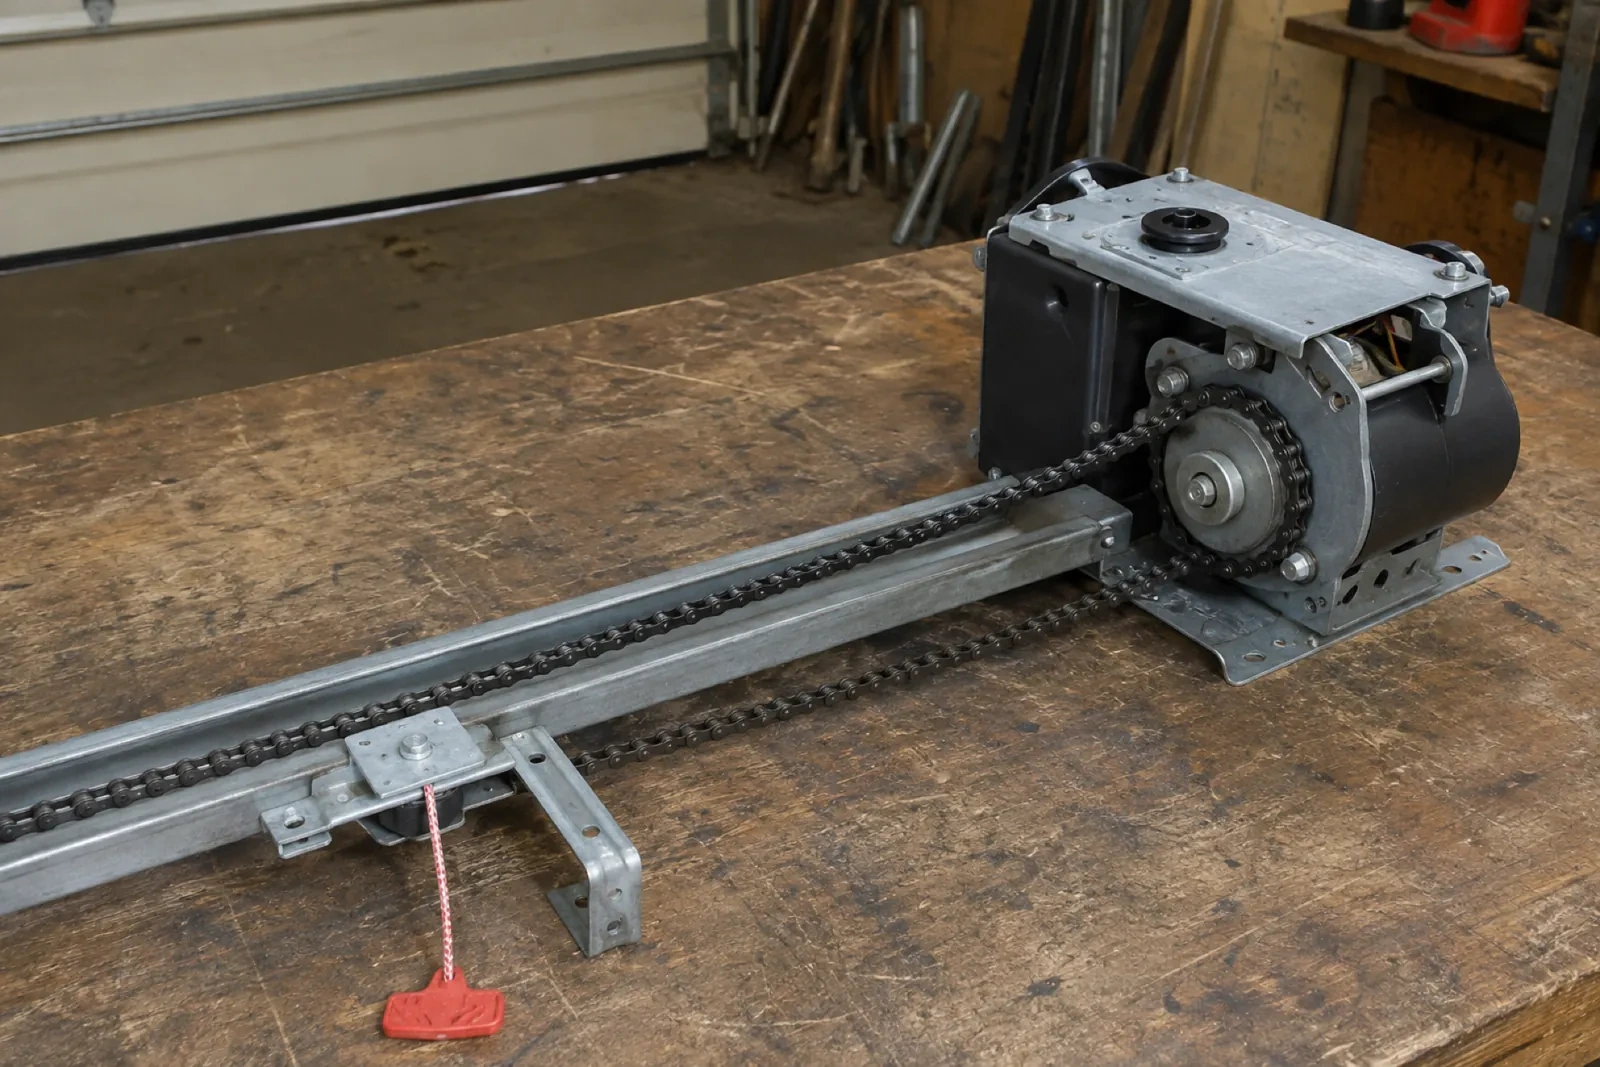
A sensor that misbehaves on a timetable is usually being blinded rather than broken. The technician notes which way the door faces, where the low sun reaches the floor in the morning and late afternoon, and whether a receiving lens looks into that light or into a reflection off a parked car, a white wall or fresh snow. Lenses are checked for frost, condensation and a film of salt, common in an unheated garage. A hand cupped over the receiving eye while the light is watched is a simple test: if the indicator settles when the eye is shaded, the fix is a side swap or a small hood rather than new parts.
Fitting a matched sensor pair
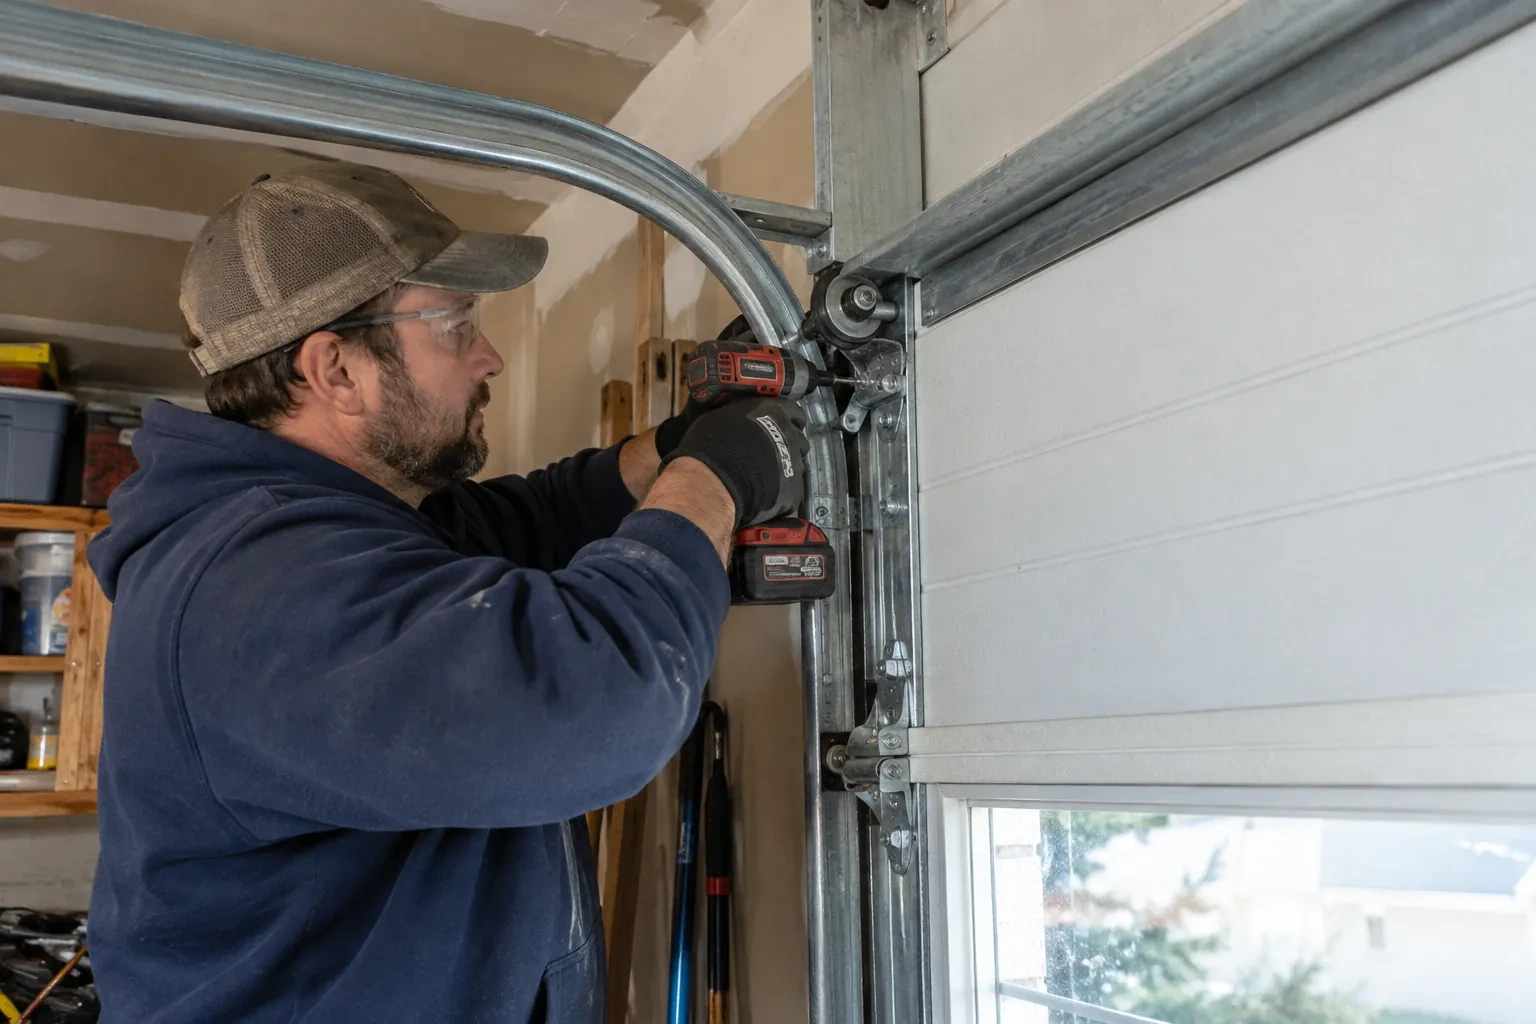
When a sensor has failed, the replacement is chosen for the opener rather than from a shelf of lookalikes. The technician confirms the make and generation from the head unit label, because sensors from one era are not always recognised by a board from another. The new sending and receiving sensors are mounted on the existing or new brackets at matched heights, wired with the connectors supplied, and brought up until both indicators glow steadily. Universal pairs exist for some operators and are used where they are documented to suit that model; where the opener is old enough that no compatible pair is made, the conversation moves to a modern operator.
Wiring that stays put
The wire between the head unit and the sensors has been secured along the ceiling and walls, clipped clear of the track and, where it was exposed, run inside a protective channel. Two things keep it that way. First, when anything is fastened to those walls or that ceiling, from shelving to a bike hook to drywall, look for the thin wire before driving a screw or a staple. Second, if mice have been in the garage, a chewed wire is a common sign, so a dark sensor light after a sighting is worth a look at the run. Either way, the sensor lights will tell you the moment the circuit is open.
Photo-Eye Sensor Alignment or Replacement
In the van
Receiving-eye sun shade
2x4 test block
Protective wire channel
Wing nuts and carriage bolts
Insulated wire staples
Photo-Eye Sensor Alignment or Replacement
What affects the quote
Bracket condition
A bracket that can be straightened costs little time. One that is cracked, rusted through or missing is replaced, and a change from track clips to wall or floor brackets adds anchors and mounting work.
Type of kit
Some replacement kits contain only the two sensors with connectors, while others include brackets and a full length of wire. The kit that suits the opener and the state of the existing hardware is what is quoted.
Corrosion reaching the head unit
Where salt and water have travelled up the wire to the terminals, or the sensor terminals on the board are damaged, the repair extends beyond the pair and that is set out separately.
What to have ready
- Can you see the thin sensor wire, and does any of it look pinched, cut or chewed?
- Are there sensors at the floor on both sides, or are they missing or mounted up beside the motor?
- Does the opener light flash when you press close, and how many times?
Photo-Eye Sensor Alignment or Replacement: questions
QuestionsCan the sensors be mounted on the wall instead of the track?
Track-mounted clips are the preferred, manufacturer-recommended arrangement. A wall-mounted angle bracket is the next choice where the track sits far back from the opening or the clip keeps getting bumped; mounting to the concrete floor is kept as a last resort, used only when the sensor's own instructions allow it. The same rules apply: both sensors at a matched height no higher than about 15 cm, level, facing each other, with the wire secured. Wall mounting sometimes gives a cleaner beam line on older doors with unusual track layouts.
How long does a sensor visit take?
Alignment, cleaning and a bracket adjustment are done inside an hour on most doors, including the two tests at the end. Replacing the pair adds a little for wiring and setup. Re-running the wire all the way from the motor to both sensors is the part that stretches a visit, especially where the wire is behind a finished ceiling or the garage is full. Having the floor by the door clear before arrival helps.
Why does my door start to close and then go straight back up?
Often the opener believes something is in the doorway, which happens when the receiving sensor stops seeing the beam, whether from an object in the path, a bracket knocked out of line, a dirty or frosted lens, sun in the receiving eye, or a damaged wire. Binding, a force setting or the door arm can cause the same symptom, so the sensor lights and the opener's flashing pattern are read first, and the technician fixes the cause they point to rather than guessing.
Related services
- Chain-Drive Opener RepairThe motor runs, you can hear it working, but the door never moves.
- Belt-Drive Opener RepairThere is a new squeal from the front of the rail, up near the header, on every cycle.
- Garage Door Opener ReplacementThe remotes only work from the end of the driveway now, and one of them disappeared with a set of keys last month.